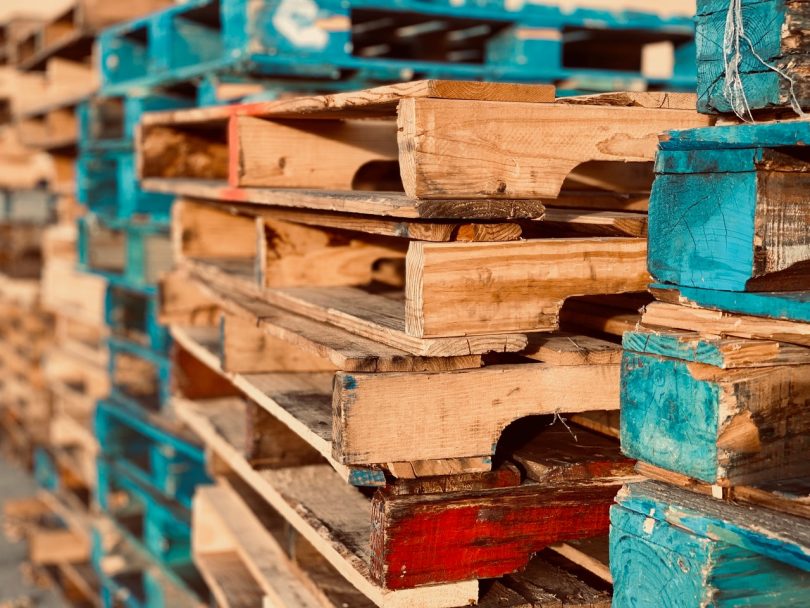
If you had to choose an item used across pretty much all building and transport trades, it would have to be the humble pallet. There certainly are lots of them: according to the European Federation of Wooden Pallet and Packaging Manufacturers (FEFPEB), over four billion wooden pallets are currently in European circulation.
Many of these are recycled, and most pallets are made from unattractive, ‘downfall’ timber. What’s more, pallets also have a typical lifespan of five to seven years, which make them a huge store of CO2 – 108 billion kilograms of it, to be exact. That means they’re certainly a climate-friendly option for trades, but we think their green credentials could be pushed further, and even then, why leave them sat stacked when they could be a nice little earner?
There are lots of things you can do to pallets to recycle and refurbish them, but we think the quickest and easiest way is turning them into reclaimed wood – perfect for flooring, cladding, walkways, or any other DIY project. Here’s how you can turn your pallets into environmentally friendly stacks of cash!
Step 1: Break apart your pallets
While reclaimed wood is prized for its distressed, weathered look, it still needs to be strong and in a full, plank form. That means when breaking apart your pallets into deck boards and stringers (the supports), you need to be careful not to just rip the wood apart.
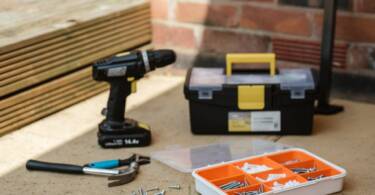
All you need is a crowbar, two saw horses (or any raised surface with a gap that material can fall through) a hammer, safety glasses, and a saw – electric saws drastically speed things up, so we’d recommend getting one.
- Put on your safety glasses.
- Cut along the edges of either side of the pallet so you remove the side stringers.
- Use the crowbar to loosen the nails holding the deck boards to the interior stringers. Work back and forth across each board’s nails diagonally, removing the boards as you go.
- Place the boards nail-up on your sawhorses or raised surface, then hammer the nails out of the boards.
- Remove any nails within the stringers using the back of your hammer.
Step 2: Work the wood
Next, you need to decide what you want your wood to look like. If you want to sell more distressed wood, see whether your planks have markings and texture – if they don’t, use your hammer or any heavy tool to add some.
On the other hand, if you want to sell fresher-looking wood, consider sanding down your planks to remove imperfections, splinters, and so forth.
Step 3: Treat the wood
Wherever you are selling reclaimed wood, it makes sense to have a few different options on offer for customers. As such, buy three or four different wood treatment oils and divide your lumber between them. How many coats you put on is up to you – just make sure to let the timbers properly dry before you sell them.
Step 4: Sell your distressed wood
There are plenty of ways you can market your distressed wooden planks beyond a sign hung on your yard gate, including social media such as Facebook Marketplace, online second hand selling websites like Gumtree, and even ads in your local paper.
Once you start to work up some custom, make a note of which planks are selling best over a period of a couple of months, then use this information to alter your production so you can better meet demand.
With the above, you can give your pallets a second life and even make some money while you’re at it. Let us know your pallet DIY tips in the comments below!


