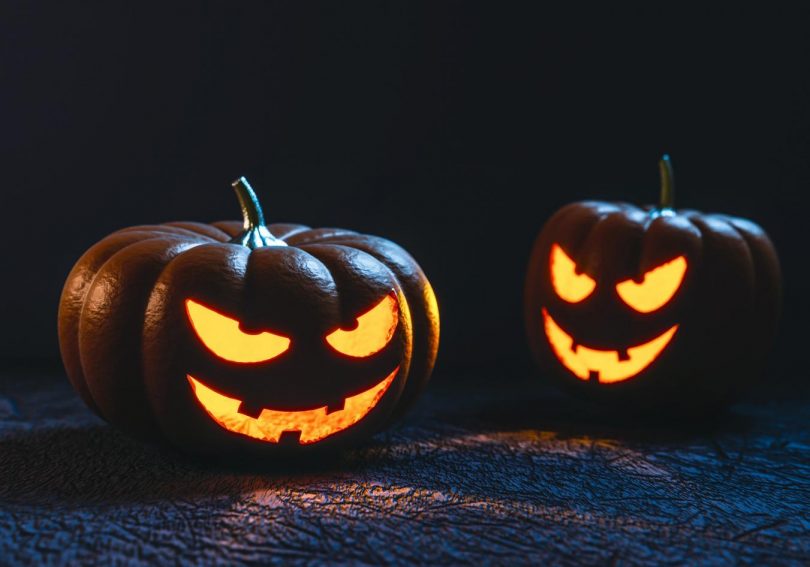
Halloween will soon be upon us, and it’s the perfect chance to go all out in dress-up for that extra scary look. For anyone wanting to stand out from the typical look dribble-of-fake-blood-and-a-black-cape-will-do, or if you’re looking for some inspiration, here are two (fairly) simple looks to try out!
Look #1:
This first look is the simpler of the two, with just five steps using make-up easily found on the high-street or online for a reasonable price.
Step 1: The base layer for this look was created using Stargazer liquid foundation in white, which costs less than a fiver to buy! Cover your whole face including lips with this using a brush until an even coverage is achieved.
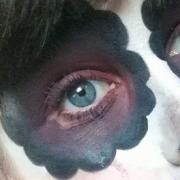
Step 2: Next black Snazaroo facepaint was used to circle around the eyes – this facepaint only costs £2.50, however black facepaint can be found in most shops coming up to Halloween, so it doesn’t necessarily have to be this brand! Semi-circles were then drawn using the same black facepaint as above all around the large circles over the eyes – this isn’t a must but it does create a prettier look!
Step 3: The next step was to add a bit of colour to the eyes. A mix of six slightly differing shades of purple eyeshadow were used to blend into the black facepaint both above and below the eyes. Any eyeshadow palette can achieve this look, however the Third Edition 120 palette was used here.
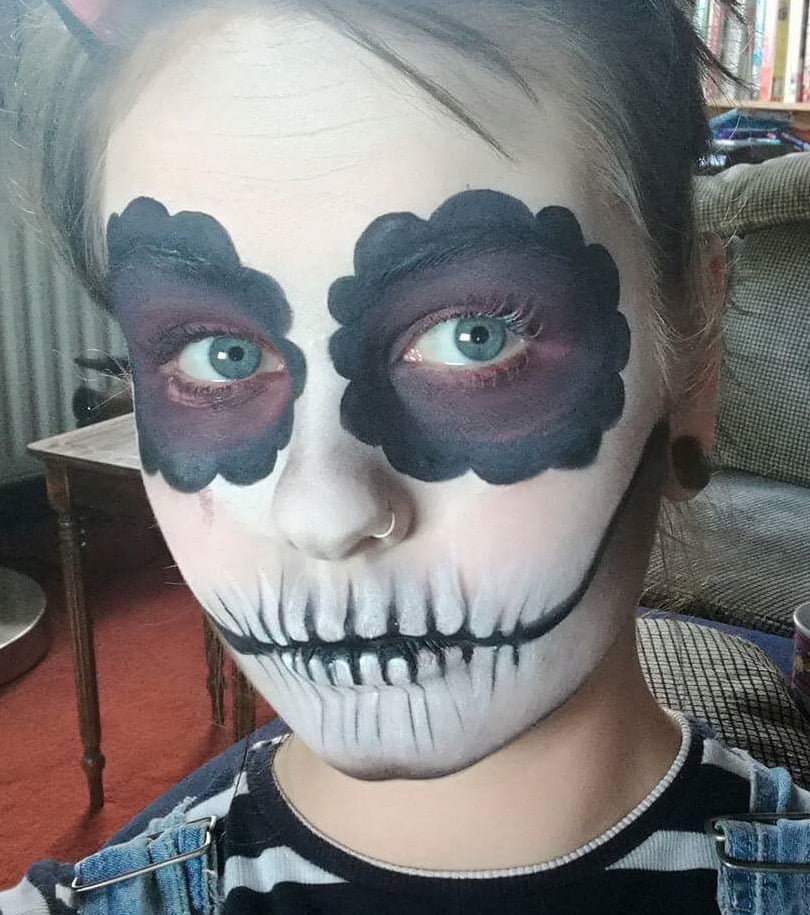
Step 4: The mouth of this look is very easy too – simply visualise where your teeth separate in your mouth and use black facepaint and a thin brush to draw lines ascending and descending from where your lips part. Following this, highlight the gaps between these lines with white facepaint.

Step 5: For the final step, grab your black facepaint and thin brush and follow your cheekbone all the way to the edge of your face; then curve the black line back on itself and along your jawline. Using a sponge or your fingers, blend this line into the gap to create a hollowed-out cheek look.

Voila! There you have it, a nice and simple (and spooky!) look just perfect for Halloween!
Look #2:
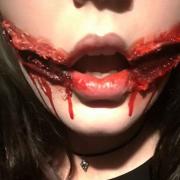
This next look is perfect for true blood and gore lovers, however piecing it together requires some more professional equipment (which will come at a higher, though still fairly reasonable price). It can be applied to anywhere on the body, but in this instance has been produced on the face to create a truly ghastly look…
Step 1: Using a pencil liner in a light shade mark where you wish the cut to be placed – this can be anywhere on the body!

Step 2: Grab yourself some Grimas Derma Wax for this step (retails at around £10). Roll the wax into a fairly long and thin cylindrical shape, rolling one for each cut, then use mastix skin adhesive (Grimas available for under £5!) to stick the cylinder(s) into place. Blend the Derma Wax onto your face using Vaseline or petroleum jelly.

Step 3: Rip up one thin layer of tissue and then use liquid latex (prices start at £2.50 online) on a cotton bud to stick it to the wax cylinder(s) to create texture. This will also make the cut stay in place for longer!

Step 4: The Ben Nye colourwheel in ‘cuts and abrasions’ was used for the colouring of the cut, however if you’re on a budget there are plenty of dupes available online found with a simple google search which cost much less! Fill in the centre of the cut with the darkest colours and the outer of the cut with red. To make this cut unbelievably realistic and gruesome it was filled with Grimas blood paste, which costs around £10 a tube.

Step 5: The final step in creating this gloriously gory gash is simply concealing all around the outsides so it blends into your skin tone and looks as natural and realistic as possible!
So there we go, two fairly easy-to-follow spooky Halloween make-up ideas for you to have a go at doing this weekend!
(Both looks were wonderfully created by Anina Knight, Level 3 Theatrical, Special FX, Hair and Media Make-up student)